
Swipe left or right to close the panel.
Business User
Please contact our solely Invaber SEO Malaysia Google Marketing Consultant for any SEO solutions.

Top 10 Most Related Posts
Best Review Based on Most Mentioned Phrase / Active User

Right Place
97 times mentioned • Hui Ying • 07 February 2018
Right Place
|
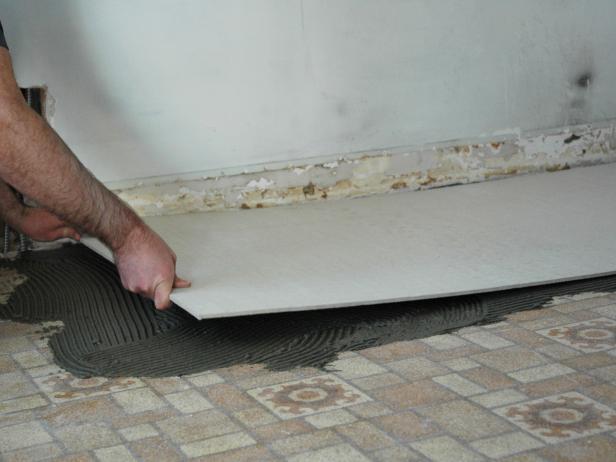
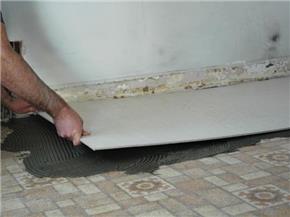
Install the Backer Board.When the entire section of the floor is covered, set the backer board down slowly (Image 1). Make any slight corrections and adjustments while the thinset is wet.
When the board is in the right place, begin screwing the backer board into the flooring below (Image 2). The backer board has a grid to follow so the screws go in the correct location.
Repeat this step until the floor is covered entirely with backer board and is completely bolted down (Image 3).
|
|

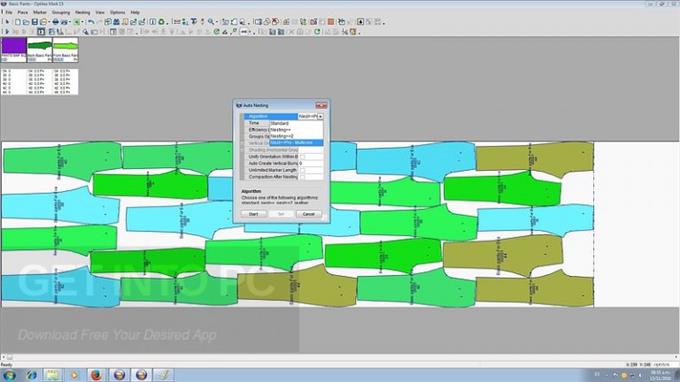
Application In The Fashion Industry
3 times mentioned • Jaden Smith • 19 October 2018
Application In The Fashion Industry
|
Handy and specialized application in the fashion industry field for two dimensional and three dimensional CAD/CAM services. Lets you use both flat and three-dimensional technology for producing their clothes. The virtual models can be designed for converting 2-Dimensional image to 3 Dimensional.
|
|
High Speed
171 times mentioned • Shark Dut Dut • 27 November 2017
High Speed
|
Sanding is a very dusty, noisy and messy job. Wear protective clothing, including ear protectors and a respiratory mask. Cover and mask around doors to prevent dust from spreading throughout the house (image 1). Open all windows, so that you work in a well-ventilated room.You need three sanders: a heavy-duty drum sander (a drum wrapped in sandpaper that rotates at high speed) (image 2); a heavy-duty edging sander (image 3) and a corner sander (image 4). Each requires sandpaper in a particular shape, which is available from the rental store.
|
|
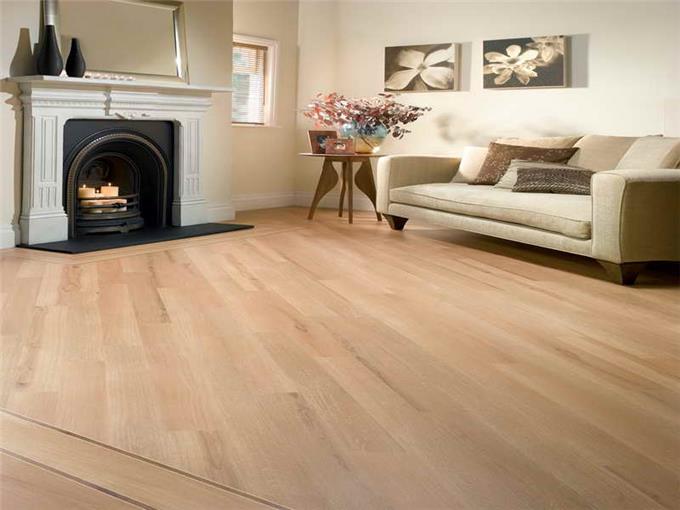
Textured Cherry Wood Finish
3 times mentioned • Joey Yap • 16 October 2017
Textured Cherry Wood Finish
|
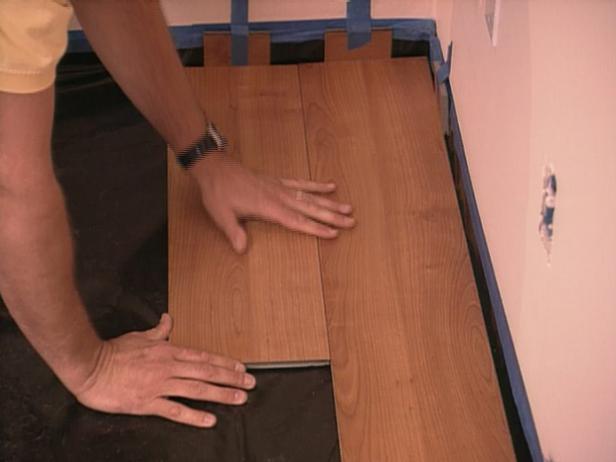
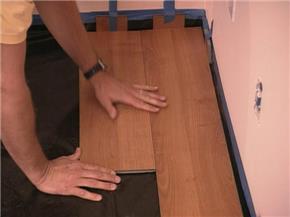
Lay Subsequent Rows. Use the short trimmed section of the previous row to start the next row. This will ensure the joints between planks in a row are staggered from the joints in adjoining rows (Image 1). The laminated flooring in this project has a soundproof backing and textured cherry wood finish. It snaps together by lining up the planks at an angle and then flattening out the row being installed (Image 2). To save the edges of the flooring boards, use a piece of scrap wood to tap adjoining rows together.
|
|
Good Idea
74 times mentioned • Hui Ying • 07 February 2018
Good Idea
|
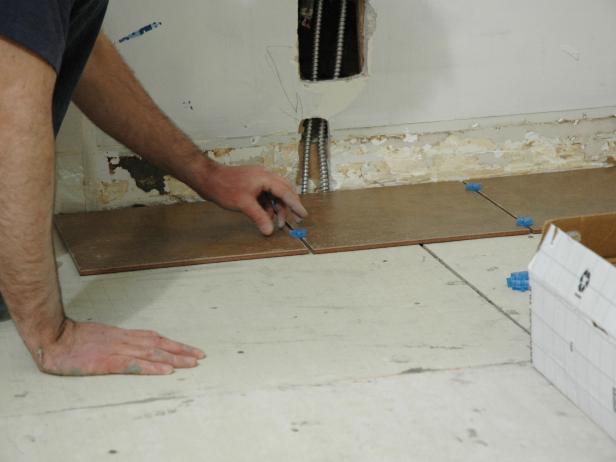
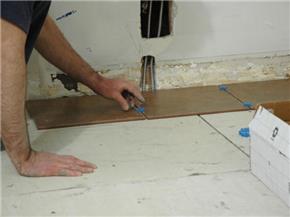
Lay the Tile.Next, plot out a tile pattern. Using spacers as a guide, lay one row of tiles all the way across the floor and another row of tiles perpendicular to the first row (Image 1). Laying out the tile before setting it provides a good estimate of how much tile is needed and where you might run into problems along the floor.With a good idea where the tile will fall, lift the first tiles and spread thinset with the notched trowel, keeping the trowel at a 45-degree angle (Image 2). Lay the tiles down carefully and make any corrections .
|
|
Good Amount
16 times mentioned • Hui Ying • 07 February 2018

Good Amount
|
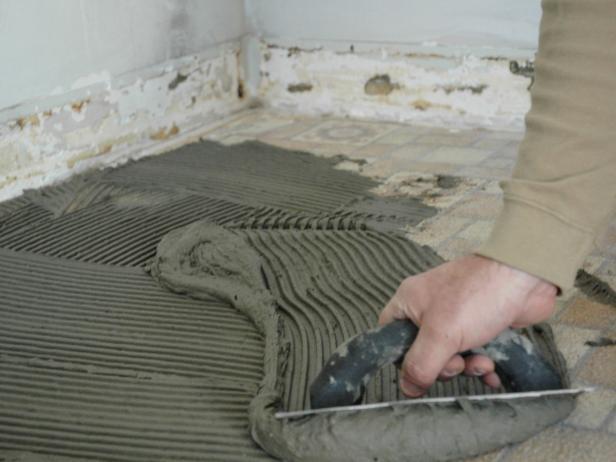
Apply the Thinset Onto the Linoleum.Apply a good amount of thinset onto the linoleum with a trowel. With the notched trowel, smooth the thinset over the floor, holding the trowel at a 45-degree angle. Only spread enough thinset to cover an area the size of the backer board. Continue this process throughout the project.
|
|

Way Around
11 times mentioned • Rain Lee • 07 February 2018

Way Around
|
Setting doors and base first creates fewer problems than the other way around. Cutting the jambs off allows for a clean, tight fit. If the base is held up the thickness of the backer board and tile plus 1/8″ or less, then the gap, if any, can be easily grouted with the rest of the floor, or caulked if you prefer, not requiring shoe molding. Of course, you can work over a finished floor (tile or wood). Sometimes it is necessary, but as a general rule, installing doors and trim first creates fewer problems and makes for a better looking job.
|
|

Gypsum Board
436 times mentioned • Bruce Wayne • 11 October 2018

Gypsum Board
|
gypsum drywall certainteed, 4x8 Ceiling Panels, 4x8 Ceiling Panels Suppliers and Cheap Certain Teed Diamond back Backer Board (Common: 1/2-in x 3 . China hover board China gypsum board China mdf board China. Removable Ceiling Tiles, Removable Ceiling Tiles. about gypsum drywall certainteed We have professional technicians and first-class after-sales support services. In the field of mine crushing equipment, the quality of our products is very confident.
|
|
Help You Get
63 times mentioned • Hui Ying • 07 February 2018

Help You Get
|
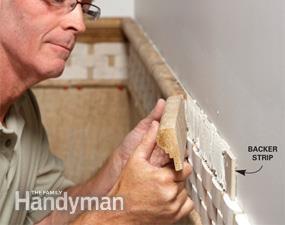
Built-out trim.Depth adjustment.If you're using tile trim, it's often necessary to “build out” the trim so it protrudes from the field tile. A strip of tile backer can help you get the build-out just right. Any kind of backer board will do; just slather one side with thin-set or mastic and stick it in place. Here the trim wasn't quite thick enough to overhang the tile below, so we set the trim over a strip of 1/4-in. backer. To make adjustments of less than 1/4 in., you don't need a strip of backer; just apply a heavier bed of thin-set.
|
|
|
Lastest Business
|
|