
Swipe left or right to close the panel.
Business User
Please contact our solely Invaber SEO Malaysia Google Marketing Consultant for any SEO solutions.

Top 10 Most Related Posts
Best Review Based on Most Mentioned Phrase / Active User


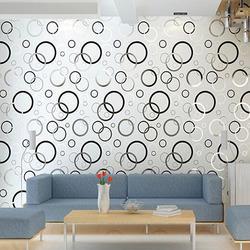
Diy Guide Installing Wallpaper
4 times mentioned • Hadis Badrun • 24 August 2018
Diy Guide Installing Wallpaper
|
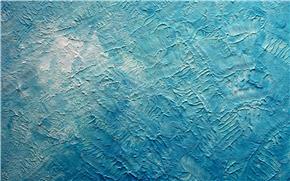
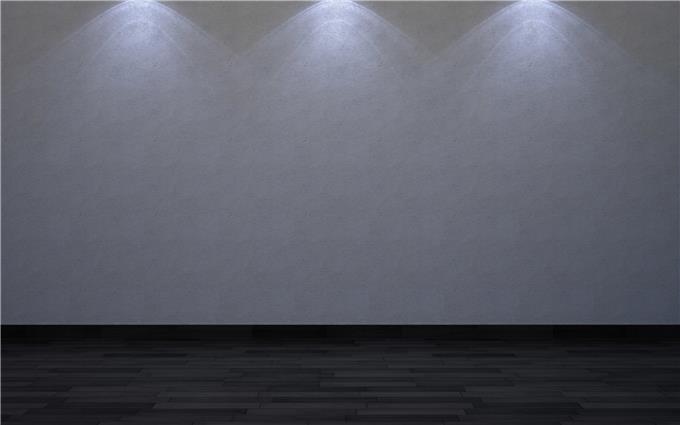
DIY Guide To Installing Wallpaper. Clean & Prep Your Wall. Sandpaper your wall and spackle any cracks or holes to smooth out any imperfections. Then, apply a layer of wallpaper primer and leave it to dry. Cover your floor or worktable with a plastic tarp before starting the next step. Step 2: Pre-cut Your Wallpaper Into Strips. If you're planning to hang the wallpaper on the whole of your wall from top-to-bottom, cut vertical strips that are an additional 4-inches to your wall height. The excess will be trimmed off once you've put them up.
|
|

Diy Guide Installing Wallpaper
4 times mentioned • Hadis Badrun • 24 August 2018

Diy Guide Installing Wallpaper
|
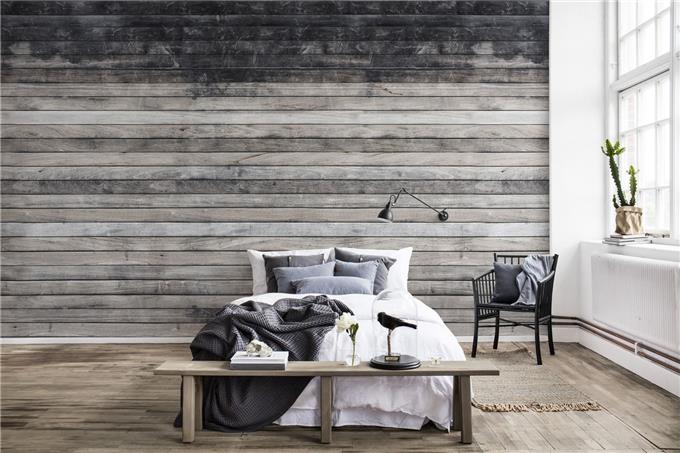
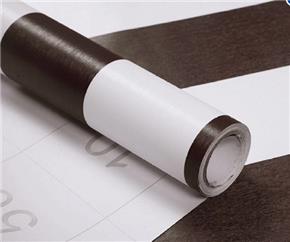
Your DIY Guide To Installing Wallpaper. Step 6: Finally, Hang Them Up. Apply & Smooth Out Strips On The Wall. Apply the wallpaper one strip at a time – using a smoothing brush or plastic smoother (about 8″ will do), carefully smooth each strip from the centre-outwards to eliminate creases and air pockets underneath. Once a piece of strip up, depending on the glue, you have about 10-15 minutes to adjust it perfectly into place before it dries up. Keep smoothing any bubbles outwards.
|
|
Diy Guide Installing Wallpaper
4 times mentioned • Hadis Badrun • 24 August 2018
Diy Guide Installing Wallpaper
|
Your DIY Guide To Installing Wallpaper. Step 5: Apply Wallpaper Adhesive Onto Your Strips. Pour some premixed clear wallpaper glue or adhesive into a paint-roller tray and use a small paint roller to apply it onto the back of your wallpaper strips. Do this quickly and evenly. Apart from using glue, there are other types of wallpaper that are either pre-pasted or use a different adhesive method, just follow the manufacturer's instructions.
|
|

Diy Guide Installing Wallpaper
4 times mentioned • Hadis Badrun • 24 August 2018
Diy Guide Installing Wallpaper
|
DIY Guide To Installing Wallpaper. Step 3: Arrange The Strips. Arrange all your strips side by side. While you're at it, line up the pattern between the strips correctly and tape them gently with a painter's tape to hold them together for a while – do this on the floor where you can see the patterns being laid out properly. Step 4: Measure & Mark The Wall. Use a pencil and measuring tape to mark on the wall where you want to place the wallpaper.
|
|

Head Gasket Sealer
13 times mentioned • Jim Raynor • 28 June 2018
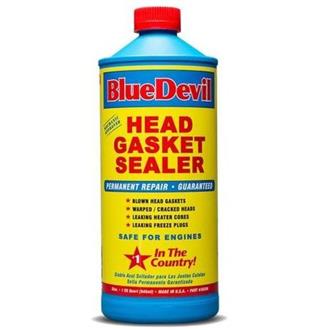
Head Gasket Sealer
|
The BlueDevil Head Gasket Sealer is another offering from Blue Devil which you'll find perfect for your car. Unlike its sister product, this head gasket sealer contains no solid particulates within the fluid. This has a couple of benefits but also a couple of drawbacks. First, with this head gasket sealer, you'll need to let the treatment seep in for a few hours before starting the engine to confirm that the repair was successful. Nonetheless, this head gasket sealer offers the prospect of permanent repair for your engine's woes.
|
|
Get Started
79 times mentioned • Ong Cui Yan • 20 December 2017
Get Started
|
Before we get started working on loose veneer, remember that this material is very thin and can easily be broken and needs some special precautions. So, the first thing you want to do before beginning ANY type of veneer repair is:
Get The Veneer Pliable (before starting any of the work)
Place a damp cloth on top of the laminate area you will be working on. Next, place a hot iron on the cloth. This will force moisture into the veneer, which makes it more flexible and much less likely to split or crack as you do your repair.
|
|
Clean Air Cond Condenser Annually
4 times mentioned • Farhana Idayu • 18 August 2018

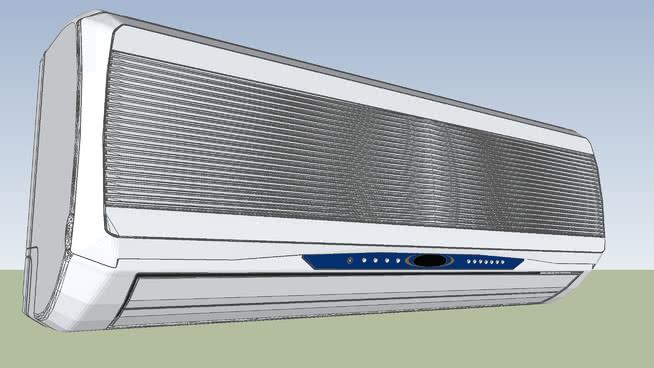
Clean Air Cond Condenser Annually
|
Clean Your Air Cond Condenser Annually. If the dirt doesn't come off with your brushing and vacuuming attempt use a hose, preferably with a nozzle and trigger-grip to gently clean in between the think metal fins. don't spray too hard as the fins can bend easily. it's very important to protect the condenser's wiring and motor from water cover them with a plastic sheet or a large garbage bag. leave it to dry before reassembling the unit
|
|
Dry Low Heat
10 times mentioned • Sammy Loh • 26 October 2021

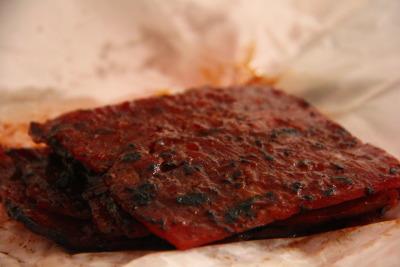
Dry Low Heat
|
Bak Kua (Dried meat jerky). Bak kua is actually quite easy to make. First you marinade the mince meat, leave it for 30mins or so, apply thin layers on baking trays, leave it to dry at low heat for about 30mins-45mins, then grill it for 4mins. The only lengthy part is when you are drying the meat, but you could always get on with other business in the kitchen or sit near the oven with a good book/magazine and a timer.
|
|

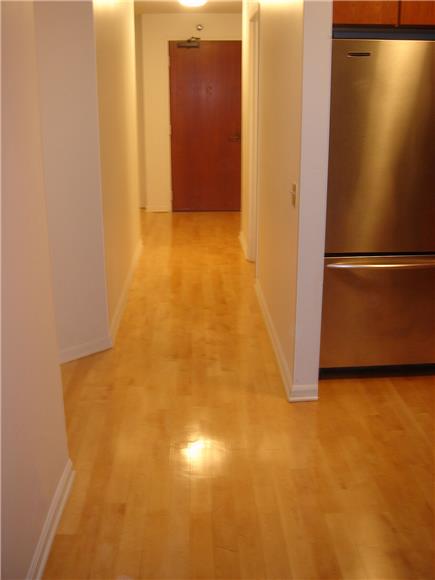
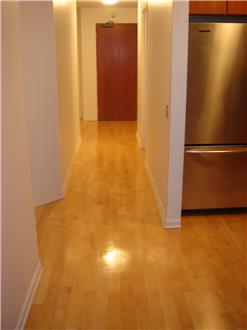
Varnish Wooden Floor
3 times mentioned • Shark Dut Dut • 27 November 2017
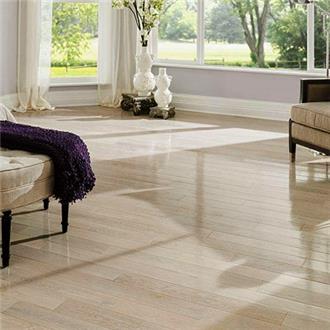
Varnish Wooden Floor
|
Sand and varnish a wooden floor. After sanding, once the dust has settled , vacuum everywhere, then wipe the floor with white spirit and leave to dry completely. Apply varnish to seal the wood; you can do this using a floor pad. Varnish floor pads come in a plastic container with the varnish. Dip the pad into the container to load it and start at the corner of the room that is furthest from the door. It's important to move the floor pad in the direction of the wood grain. For consistency, as you get to the other side of the room.
|
|

Keep Out Reach Children
3 times mentioned • Lindsay Armstrong • 18 June 2015
Keep Out Reach Children
|
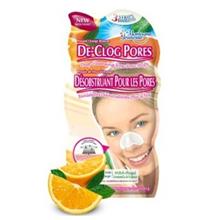
Montagne Jeunesse De-Clog Pores
These ultra-deep cleansing nose pore strips contain natural citrus to draw out deep-rooted impurities for cleaner, less visible pores on and around the nose.
HOW TO USE :
Remove pore strip from inner pouch. Wash face and leave nose wet. Remove strip from backing & dampen smooth side of pore strip. Apply damp side of pore strip to nose and press down for contact. Leave to dry for 10-15 minutes, carefully remove from edges and peel off.
Use strip immediately once opened. Do not use on any other areas of the face or body and do not use on broken skin. Do not use pore strips more than 3 times in any one week. Remove strip promptly when stiff, if difficult to remove do not pull, re-wet and gently peel off. Keep out of reach of children.
|
|


|
Lastest Business
|
|